
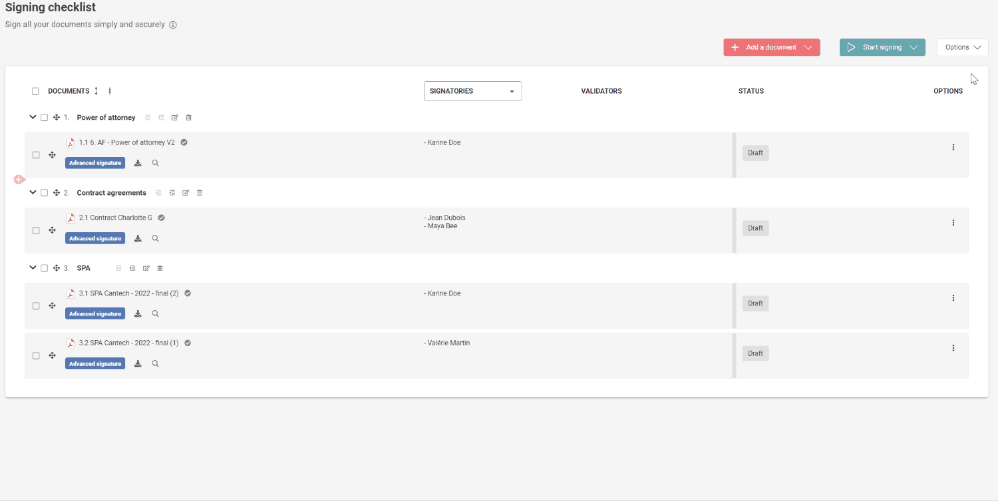
How to add a document to the signing checklist?
To add a document to the signing checklist, click on “Add a document” at the top right of the “Signing checklist” page.
From the Documents page, click on the menu (three small dots icon) and then on “Add to signing checklist”.
How to define a signature order between documents?
- Click on Options at the top right and then Signing Order on the Signing Checklist page.
- Click on Add a group at the top right
- Drag and drop documents into the boxes on the right in the order you want them to be signed. You can put several documents in each box. Once you have started your signing session, the documents in one box will be sent for signing automatically when the documents in the previous box have been fully signed.
Once the order is set up, it is shown in a column to the right of your signing session.
How do I start my signing session?
Step 1:
To start your signing session right away, click on Start signing and then Start now.
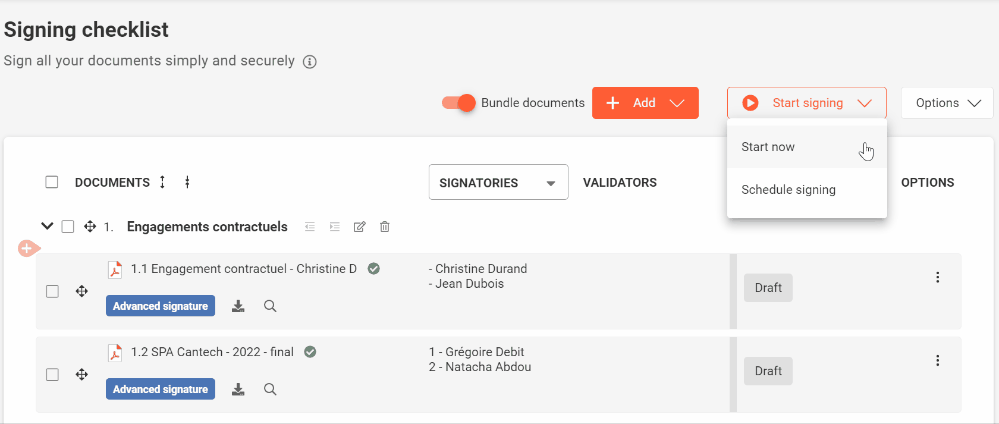
A pop-up window will appear to let you check the content of your signing checklist

Step 2 (optional):
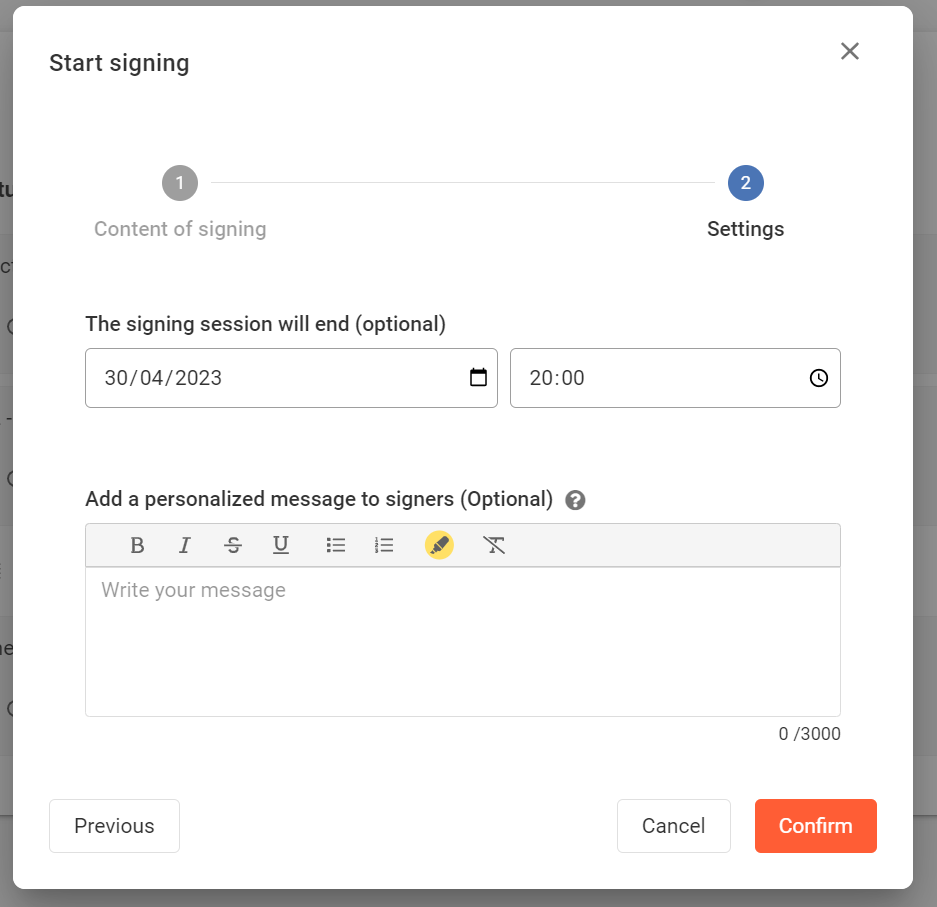
if documents are not signed before the signing session ends, they will turn into “voided” status.
How do I schedule my signing session?
If your signing session is ready but is not due to start until tomorrow morning, for example, you can also schedule it to start later. To do this, click on Start Signing and then Schedule Signing.
The signing session will automatically start at the selected date and time. You will always have the possibility to change the time and date or to cancel the scheduled session.
Who can see the progress of the signing session?
Only people designated as signatory, validator or observer as well as all the Project Managers can view a document’s status and its evolution (draft, sent, pending, signed or canceled).