
Redaction is essential for hiding sensitive information and ensuring the confidentiality of your documents, especially during transactions, audits, or legal procedures.
Step 1: Select the Document to Redact
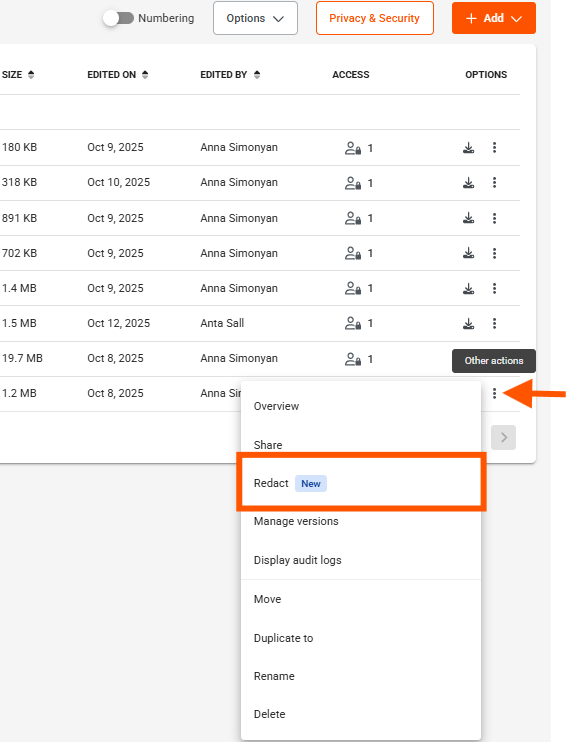
To start, go to the Documents module. In the Options column to the right of the document, click on the three dots (⋮) labeled “More actions”. Then, from the dropdown menu, select the framed option “Redact”.
You can monitor storage usage from the Settings page.
Click “Continue” to open the document in a new tab.
Step 2: Apply Redaction
Two methods are available :
- Redact by Keywords:
Click in the Text Search bar and enter the text you want to redact.
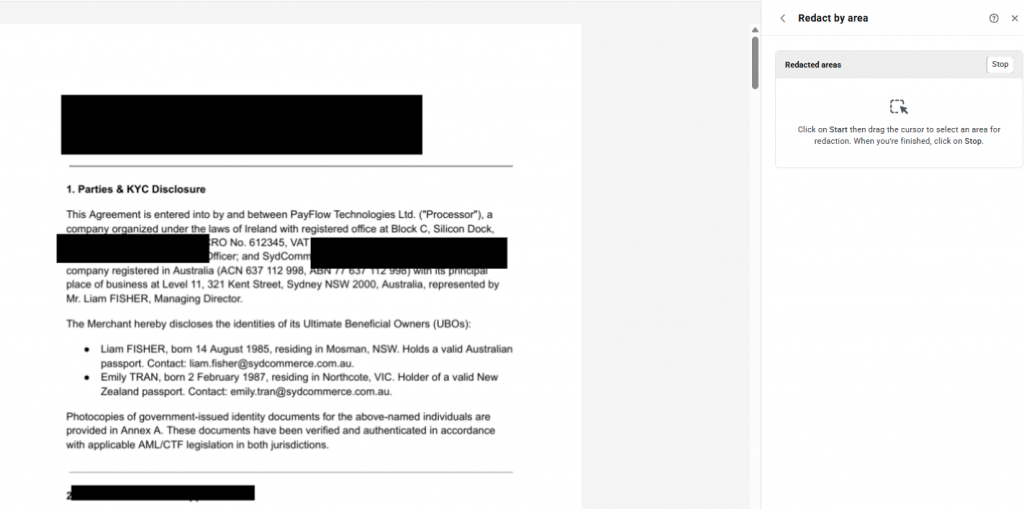
- Redact by Area:
Click “Start”, then drag the cursor to select an area to redact. If needed, apply the same selection to all pages (e.g., logos). Once done, click “Stop”.
Step 3: Finalize the Redaction
To save the redacted document, click “Save”.
The hidden elements will be permanently redacted and cannot be modified.
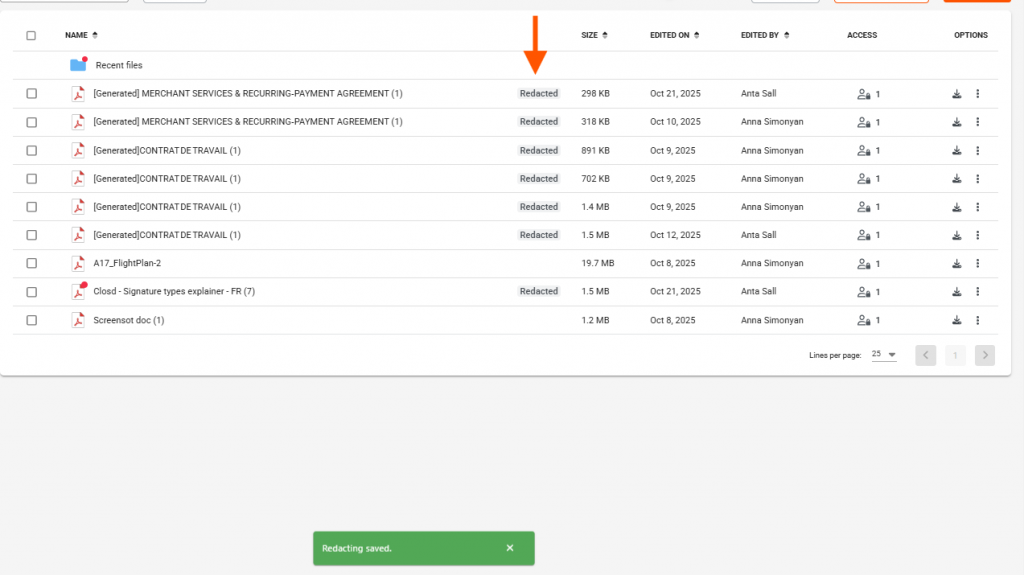
A notification saying “Redacting saved” will appear at the bottom of the platform to confirm the operation is complete.
The document will then be updated and tagged as Redacted.
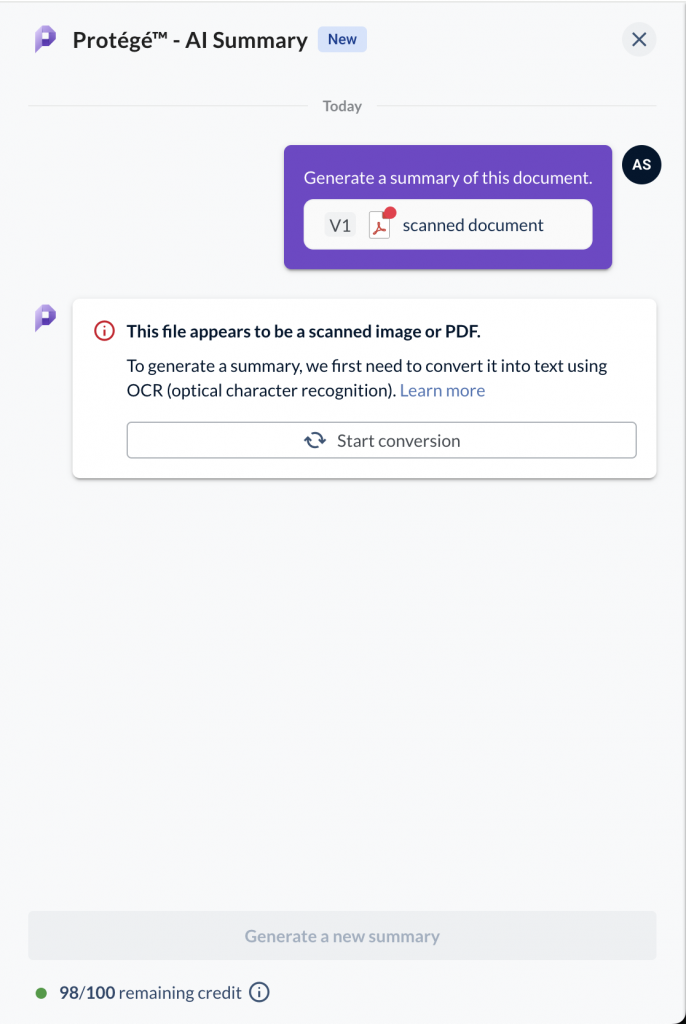
Special Case: Scanned Documents (OCR)
To redact scanned documents, you must first perform OCR (Optical Character Recognition) to make the text detectable.
Then, you can apply keyword-based redaction.
This permanently removes the underlying text so it can’t be copied, searched, or programmatically extracted—preventing the common issue where hidden text remains in the file.